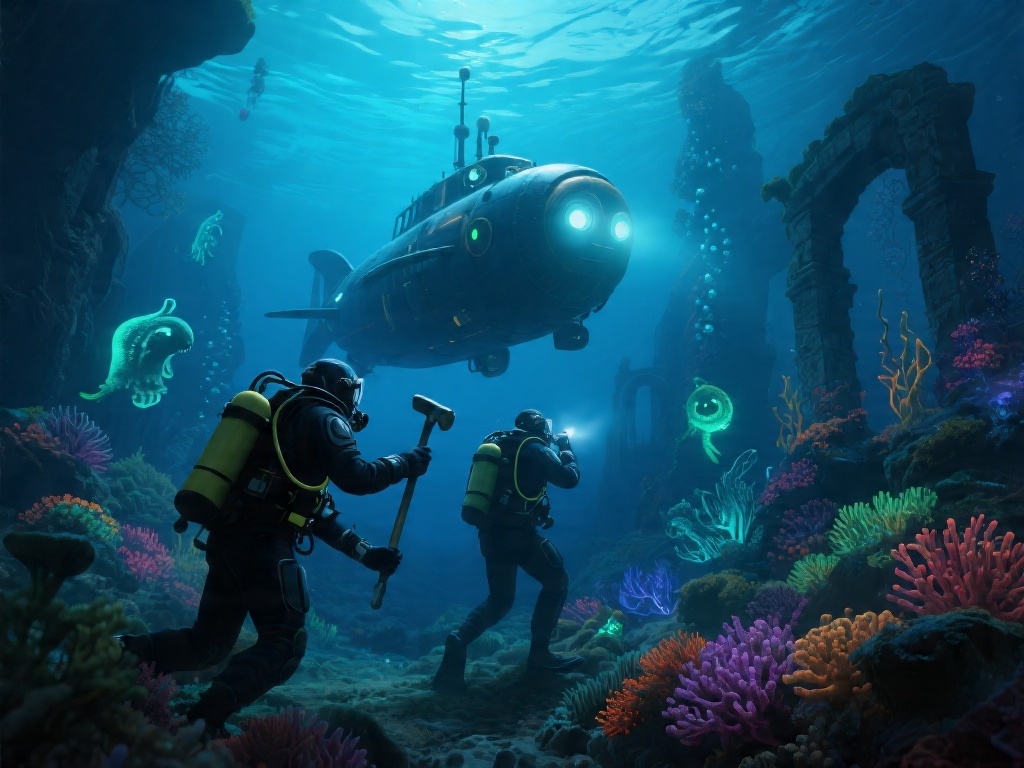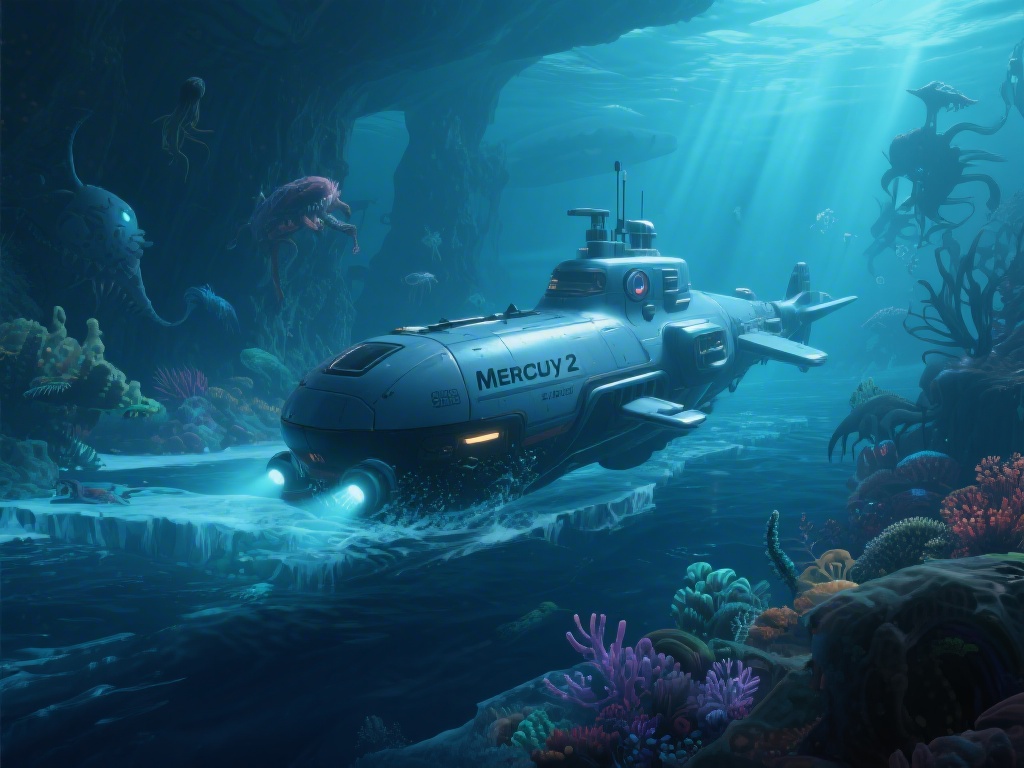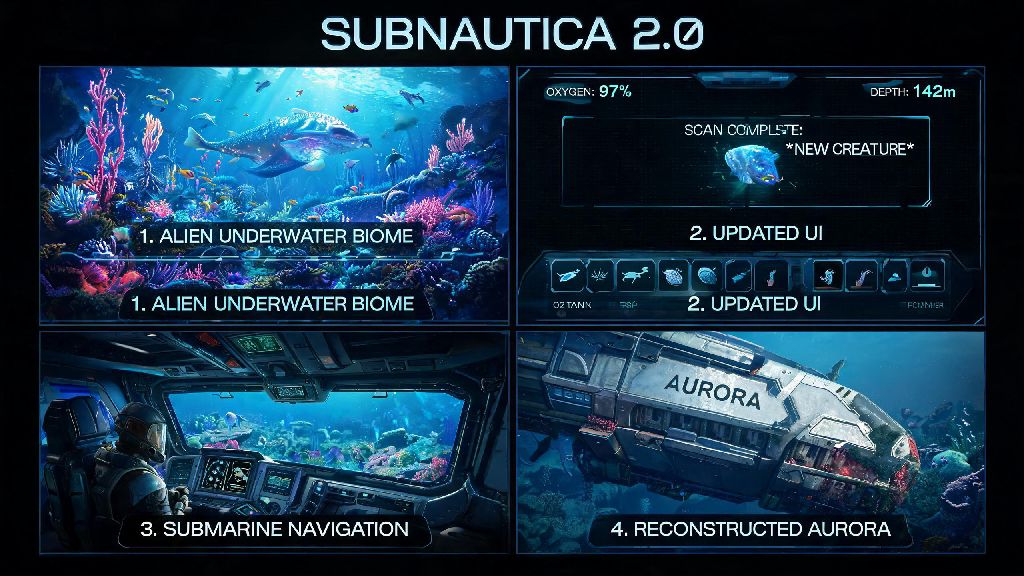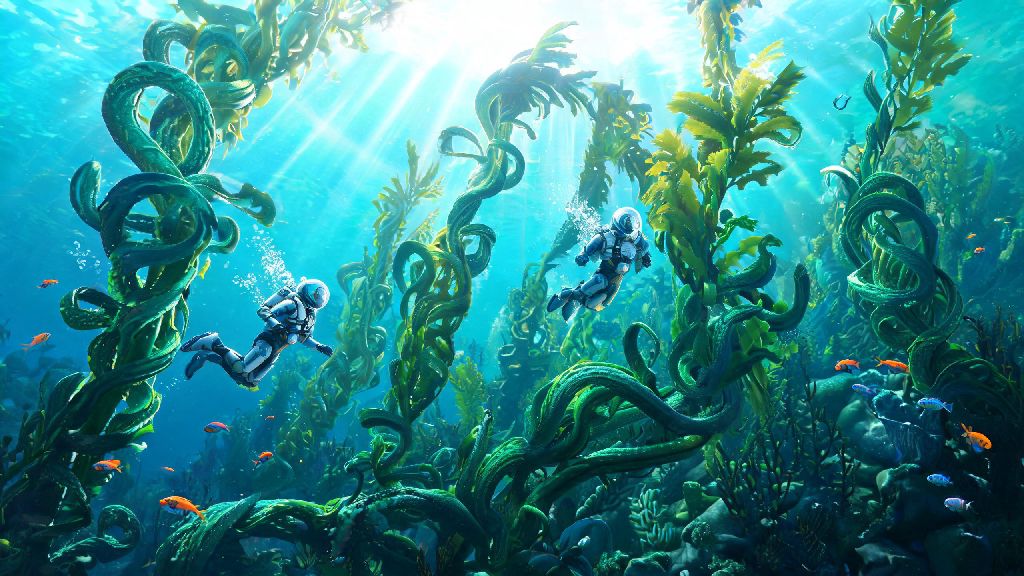
Subnautica fans waited years for the sequel’s expanded alien ocean, and the diverse Subnautica 2 biomes deliver even more wonder and risk than the original game’s underwater worlds. I’ve spent over 80 hours diving through every corner of the map, getting eaten by leviathans, stumbling on rare resource veins, and finding hidden story Easter eggs most players miss. This guide breaks down everything you need to know to navigate each biome safely, get the best loot, and avoid common rookie mistakes that leave you stranded without oxygen.
Most Unique Subnautica 2 Biomes You Should Explore First
The first few biomes you’ll encounter right after your escape pod lands are designed to ease you into the game’s mechanics, but they still hold plenty of surprises if you know where to look. You don’t need high-tier gear to explore these areas, so you can hit them within your first 5 hours of play to stock up on early-game resources.
Many new players rush past these starting biomes as soon as they get a better oxygen tank, but skipping them means you’ll miss easy access to resources you’ll need for late-game upgrades. I always make a point to do a full sweep of the Twisted Kelp Forest once a week in my playthroughs to restock on kelp and copper, since those materials get used up fast for crafting batteries and food.
High-Risk, High-Reward Biomes for Advanced Players
Once you have a reinforced dive suit, a sea truck, and at least 5 minutes of oxygen capacity, you can start exploring the more dangerous zones that hold the game’s rarest loot and most interesting story beats. These areas are full of aggressive creatures and environmental hazards, so never head into them without a spare oxygen tank and a stasis rifle.
The Abyssal Thermal Zone is the deepest playable biome on the map, sitting at 1,300 meters below the surface. The water here is almost pitch black, and the only light comes from hydrothermal vents that spew superheated water that can melt your suit in seconds if you get too close. You’ll find kyanite and uranium here, the two resources you need to craft nuclear reactors and late-game vehicle upgrades. The biggest threat here is the shadow leviathan, a 100-foot long predatory creature that hunts using sound, so turning off your sea truck’s engine when you hear it nearby is the only way to avoid being attacked.
The Acid Mushroom Marsh is another high-risk biome that’s easy to write off at first glance. The water here has low pH levels that will drain your suit’s integrity over time, even if you have a reinforced model. The glowing purple mushrooms that grow all over this zone are the only source of acid gel, a crafting material you need to make thermal resistant coatings for deep diving. You can cut down on suit damage by carrying a stack of repair kits with you, or by upgrading your suit to the acid-resistant variant before you visit.
Common Mistakes to Avoid When Exploring New Biomes
I’ve made every possible mistake when exploring underwater zones, from running out of oxygen 10 meters from the surface to losing a full load of kyanite to a surprise leviathan attack. These small errors can set you back hours of progress, so learning to avoid them will make your playthrough far less frustrating.
The most common mistake I see new players make is heading into a new biome without marking their entry point with a beacon. It’s incredibly easy to get disoriented in dark, winding biomes, and you don’t want to spend 20 minutes trying to find your way back to your sea truck while your oxygen runs out. I always place three beacons when I enter a new biome: one at my entry point, one at the first major resource vein I find, and one near any leviathan spawn points so I know to avoid that area later.
Another big mistake is ignoring environmental cues that signal incoming danger. For example, if you see small fish darting away from a certain direction in the Abyssal Thermal Zone, that means a leviathan is nearby, even if you can’t see or hear it yet. If the water in the Coral Spire Basin starts to get cloudy, that means a tidal shift is coming, and you need to get to open water immediately to avoid getting trapped. These small cues are easy to miss if you’re focused on mining resources, but paying attention to them will save you from dozens of unnecessary deaths.
Don’t try to collect every single resource you see on your first visit to a new biome. Your inventory space is limited, and you’ll get more use out of marking high-value resource veins with beacons and coming back later with a sea truck storage module than you will cramming your inventory with low-value copper and titanium you can get in the starting zones.
How to Unlock Hidden Biomes Most Players Never Find
Not all Subnautica 2 biomes are marked on your default map, and some require you to complete specific story quests or find hidden entrances to access. These hidden biomes hold some of the game’s most interesting story lore and exclusive resources you can’t find anywhere else on the map.
The first hidden biome most players miss is the Lost Research Station Cavern, a massive underground cave system tucked behind a breakable rock wall in the Bioluminescent Trench. You’ll need a laser cutter to break through the wall, and once you’re inside, you’ll find abandoned research logs that explain what happened to the previous human expedition to the planet, plus exclusive crafting blueprints for the advanced oxygen tank. The cave system is also home to a passive leviathan that doesn’t attack players, so you can swim right up to it to take screenshots if you want.
Another hidden biome is the Frozen Underwater Lake, located beneath the ice sheet on the northern edge of the map. You’ll need a drill arm for your sea truck to break through the ice, and once you’re inside, you’ll find frozen remains of ancient alien creatures, plus rare ice crystal resources you need to craft the game’s best cooling systems for your base. The water here is near freezing, so you’ll need a thermal suit to stay alive for more than a few minutes, even with a reinforced dive suit.
You don’t have to complete the main story to access these hidden biomes, but you will need mid-tier gear to get through the entrances and survive the environmental hazards. I recommend looking for them right after you get your first sea truck upgrade, since the blueprints and resources you find there will make the rest of the main story far easier to complete.
At the end of the day, half the fun of playing Subnautica 2 is stumbling on new, unexpected sights as you explore the vast alien ocean. Taking the time to learn the layout of each of the Subnautica 2 biomes, their unique hazards, and their best loot spots will make your playthrough more enjoyable and far less frustrating. Don’t be afraid to take detours, mark interesting spots with beacons, and run away if you encounter a creature you can’t handle. There’s no rush to beat the story, and some of the best moments in the game come from random finds you stumble on while exploring off the beaten path.