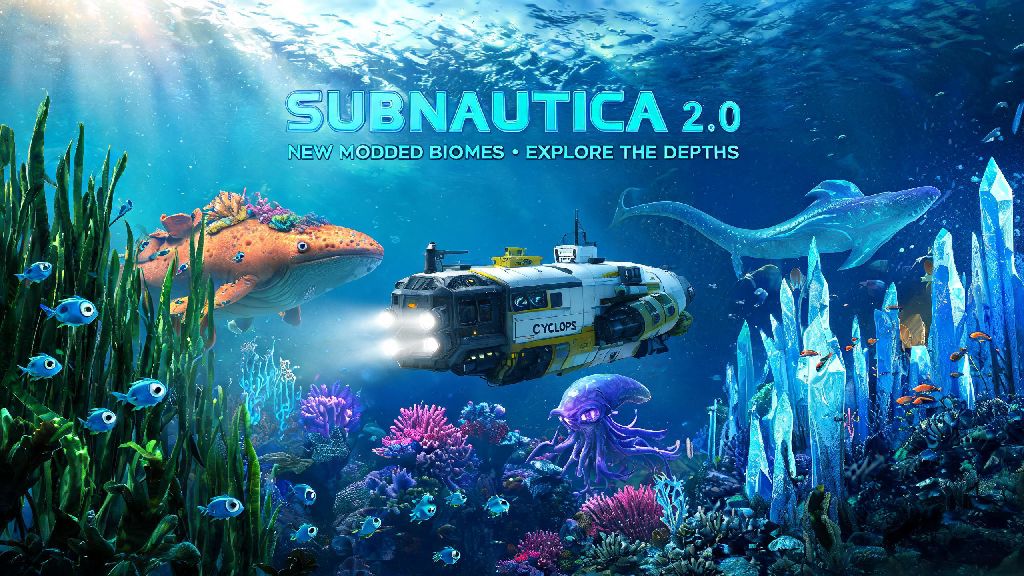
If you’ve logged dozens of hours exploring Subnautica’s oceans, memorized every leviathan spawn point, and cleared all the core story beats, you’re probably hungry for fresh content. Learning how to install Subnautica 2.0 mods can turn your familiar playthrough into a brand new experience, whether you want tougher survival challenges, unexplored deep-sea biomes, or small fixes for annoying quality of life issues. A lot of new modders worry about breaking their game or corrupting save files, but this guide uses tested, community-vetted steps to make the process as low-risk as possible.
Prep Steps Before You Install Subnautica 2.0 Mods
Jumping straight into downloading mods is the most common mistake new players make, and it usually leads to easily avoidable headaches. Taking 10 minutes to prep your game first will save you hours of troubleshooting later. Always back up your entire save folder before making any changes to your game files, even if you’re only installing one small mod. Save file corruption is rare, but it’s impossible to fix if you don’t have a backup stored outside your main game directory.
You also want to confirm you’re running the official, non-beta 2.0 version of the game. Mods built for 2.0 won’t work with earlier game versions or beta branches, and they can cause permanent crashes if you try to force them to run. If you’ve used mods for older Subnautica versions in the past, do a clean reinstall of the game first to remove any leftover mod files that might cause conflicts.
Choosing the Right Mod Manager for Subnautica 2.0
You could install mods manually, but it’s messy, time-consuming, and way more likely to lead to load order errors. Mod managers handle all the hard work for you, from downloading required dependencies to sorting load order automatically. For most players, r2modman is the best option for Subnautica 2.0. It’s built specifically for Unity games like Subnautica, has a huge library of approved 2.0 mods, and is totally free to use.
R2modman automatically sorts mod load order and flags compatibility issues before you launch the game, so you don’t have to manually research which mods work together. If you already use Vortex for modding other games, it works for Subnautica 2.0 too, but you’ll have to do a bit of extra setup to link it to your game install. No matter which manager you pick, only download it from official trusted sources to avoid malware or broken install files.
You don’t need any advanced technical skills to use these managers. They automatically detect your Subnautica 2.0 install location in most cases, and you can start browsing mods within minutes of setting it up.
Step-by-Step Mod Installation Walkthrough
Once your mod manager is set up and linked to your Subnautica 2.0 install, the actual installation process is straightforward. Start by browsing the manager’s mod library, and filter results to only show mods compatible with the 2.0 update. Always check the mod description to confirm it's built for the 2.0 update — many older popular mods are abandoned and won’t work with the latest game patch, even if they show up in search results.
When you find a mod you want, click the install button. The manager will automatically download any required dependencies, like BepInEx, the mod loader that almost all Subnautica 2.0 mods rely on to run. You don’t have to download these files separately, the manager handles that for you. If you’re installing multiple mods at once, wait for all downloads and installations to finish before moving to the next step.
When all your selected mods are installed, click the “launch modded” button directly from your mod manager. Don’t launch the game directly from Steam or Epic, because that will load the vanilla version of the game without any mods applied. Your first launch after installing new mods might take 30 to 60 seconds longer than usual, that’s totally normal as the game loads all the new mod files. If it takes longer than two minutes, you might have a compatibility issue that needs troubleshooting.
Troubleshooting Common Mod Installation Issues
Even if you follow every step perfectly, you might run into small issues every now and then, especially if you’re using a lot of mods at once. The most common issue is the game crashing immediately on launch. This is almost always caused by a missing dependency or an incompatible mod. Disable the most recently added mods one by one, launching the game each time, until you find the one causing the crash.
If mods don’t show up in game at all, first double check that you launched the modded version of the game from your manager, not the vanilla version. If that’s not the issue, make sure you have the latest version of BepInEx installed, and that all your mods are updated to their latest 2.0 compatible versions. Most mod managers will auto-update mods for you, but you can manually trigger an update if you notice one is out of date.
Never install mods that require you to edit core game files directly, these are almost always the cause of permanent game issues or save corruption. If you run into a problem you can’t fix, you can always delete your mod folder and do a fresh install of the game, then restore your save file from the backup you made earlier. That will always get you back to a working vanilla game state.
Once you get the hang of how to install Subnautica 2.0 mods, you can tweak your playthrough to fit exactly what you want, from small quality of life upgrades like better inventory sorting to massive total conversion mods that add dozens of hours of new story content. Start small with 2 to 3 simple mods first, then add more as you get comfortable with the process. I’ve run 15+ mods on my current playthrough for months without a single crash, so take it slow, test what works for you, and enjoy exploring a whole new side of Subnautica’s oceans.