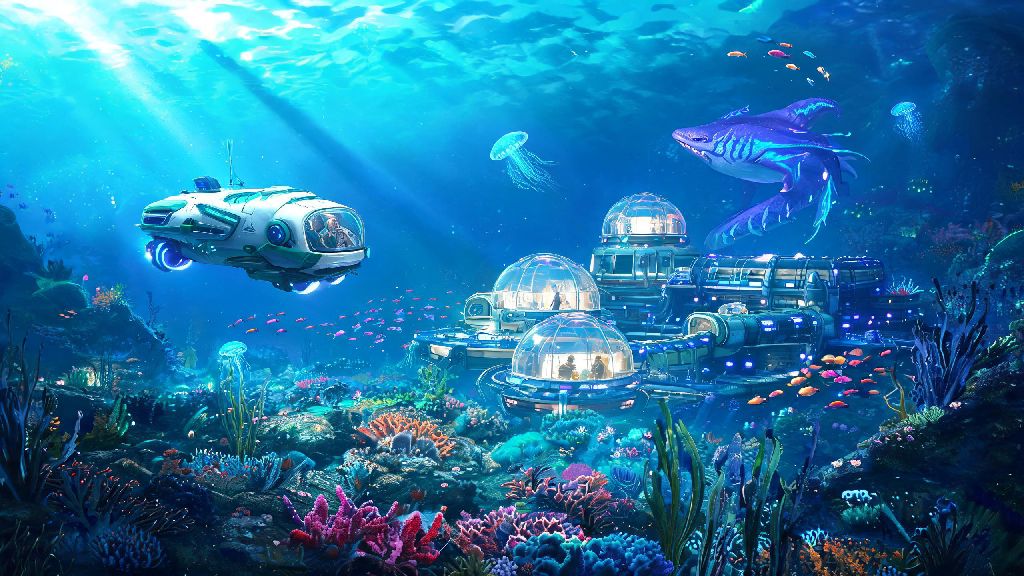
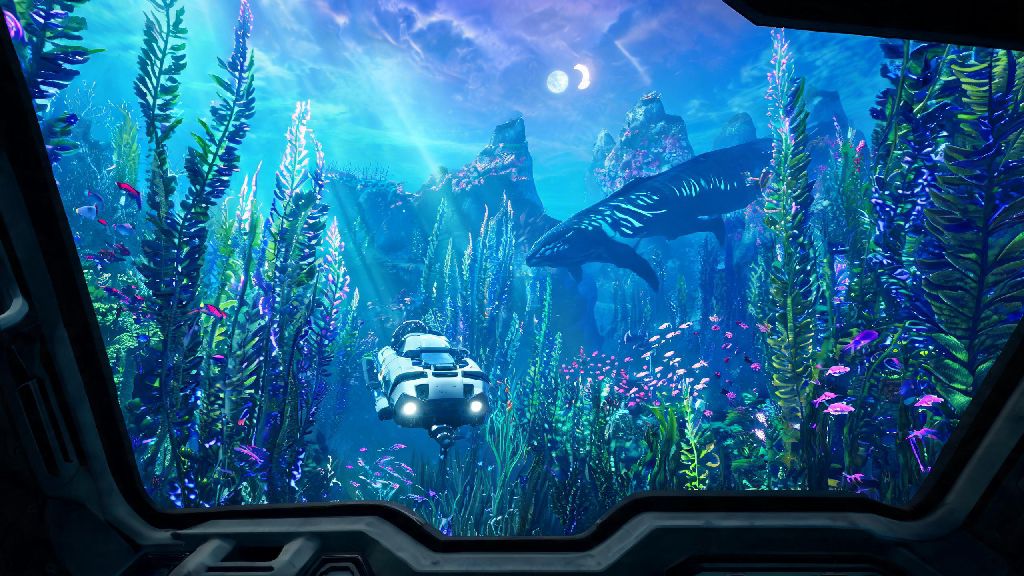
If you’ve just booted up Subnautica for the first time, you’re probably equal parts mesmerized by the glowing alien ocean and terrified of every shadow that moves beneath the waves. Your first 2 hours in Subnautica will set the tone for your entire playthrough, so it’s easy to waste time on low-priority tasks or make a silly mistake that sends you back to the life pod before you’ve even found your first seamoth fragment. I’ve put over 120 hours into the game across three separate playthroughs, so I know exactly what you need to prioritize, and what you can safely ignore, to get off to the best start possible.
What to Prioritize in Your First 2 Hours in Subnautica
Your first 10 minutes should be spent exclusively inside and right around the life pod. Grab the emergency storage kit from the corner first, then fix the broken radio on the wall. The first radio message you receive will give you coordinates for your first major story beat, so you don’t want to put that repair off for later. Once the radio is fixed, you can start venturing out into the safe shallows to gather basic resources.
For the first hour, stick to areas no deeper than 50m, and focus on collecting titanium scrap, copper ore, and creepvine seeds. You’ll need these materials for all your early core tools, and you won’t have to worry about running out of air or running into dangerous predators if you stay close to the life pod. Don’t go deeper than 100m in your first hour—you won’t have the upgraded oxygen tank to support longer dives, and running out of air is the most common cause of early-game death.
Before you hit the 2 hour mark, make sure you’ve crafted these four non-negotiable items to set yourself up for long-term success:
- Standard O2 Tank: Doubles your underwater exploration time, letting you push further from the life pod without checking your air meter every 10 seconds
- Survival Knife: Lets you cut through creepvine to get fiber mesh, and fend off small aggressive creatures like bitefish that will nibble at you unprovoked
- Scanner: Critical for unlocking blueprints for tools, bases, and vehicles that you’ll rely on for the rest of the game
- Swim Charge Fins: Boost your swimming speed by 30% and generate small amounts of power for your tools as you move, cutting down on trips back to the pod to recharge
How to Avoid Common Early-Game Mistakes
One of the biggest mistakes new players make is wandering too far from the safe shallows before they’re prepared. If you hear a distant, guttural roar while exploring the shallows, turn around immediately. That’s a reaper leviathan, and it can one-shot you even if you have full health and a reinforced suit. You don’t need to go anywhere near the edge of the crash zone in your first 2 hours, so stick to the safe shallows, kelp forests, and grassy plateaus until you have a seamoth to escape fast if needed.
Another common mistake is hoarding resources you don’t need yet. A lot of new players fill their inventory with quartz or salt right off the bat, but you only need small amounts of those for early crafts. Prioritize titanium and copper first, since you’ll need dozens of each for your first base and tools. If your inventory is full, drop the less urgent materials first, and come back for them later once you have storage space.
It’s also easy to get caught up scanning fragments and forget your hunger and thirst meters are dropping. You can cook fish using your life pod’s fabricator in 10 seconds, so keep 2-3 cooked peepers and a bottle of filtered water in your inventory at all times to avoid dying of starvation mid-exploration. I learned this the hard way on my first run, when I died 20 minutes into a fragment hunt because I forgot to pack snacks.
Best Spots to Explore Early On
The safe shallows immediately around your life pod are your most valuable resource for the first hour. It’s full of titanium scrap, copper ore, and edible fish, so you can gather 90% of your early resources without ever leaving the area. You’ll also find plenty of outcrops to mine, and no dangerous predators larger than the occasional bitefish to worry about.
Once you have your basic tools crafted, head to the kelp forest bordering the safe shallows. That’s where you’ll find creepvine for fiber mesh, and the first seamoth fragments you need to unlock your first vehicle. Most kelp forest biomes have at least 3 seamoth fragments within 50m of the safe shallows border, so you can unlock the blueprint for your first vehicle before your first 2 hours are up. Just watch out for stalkers—they’ll steal your scrap if you leave it lying around, but they won’t attack you unless you get too close to their nests.
The grassy plateaus are the last spot you should hit in your first 2 hours. You’ll find silver ore there, which you need for the seaglide and other advanced tools. Just watch out for sand sharks—they’re not too aggressive if you don’t get too close, but they’ll chase you if you swim too close to their burrows. I usually hit the grassy plateaus last, once I have the o2 tank and fins to swim fast enough to outrun any threats.
Setting Up Your First Base Before The 2 Hour Mark
You don’t need a huge, elaborate base early on, just a small outpost with a few core features to make your life easier. First, pick a flat spot in the safe shallows, preferably within 200m of the life pod. That way if you die and respawn, you don’t have to swim for 10 minutes to get back to your base. You only need 3 titanium for a basic habitat builder, 10 for a single multipurpose room, and 2 for a hatch, so you can put the whole thing together in 10 minutes if you have the resources saved up.
Once you have the room built, add a fabricator and a storage locker first. That way you can drop off extra resources without having to run all the way back to the life pod every time your inventory fills up. You can also add a small planter box if you have extra seeds, to grow your own food and cut down on fishing trips later. Add a solar panel to your base as soon as possible—you don’t need any other power sources for early builds, since solar panels work perfectly as long as your base is above 100m deep.
I usually build my first base right next to a kelp forest border, so I can pop over to get fiber mesh or scan for fragments whenever I need to. You don’t need to add any extra rooms or features in your first 2 hours—save those for once you have your seamoth and can explore further out for rarer resources. The only extra feature I sometimes add is a bed, so I can skip the dark, creepy night cycles if I don’t feel like exploring in low light.
You don’t need to unlock every blueprint or explore every biome in your first 2 hours in Subnautica. The goal is just to set up a safe foundation, unlock your first vehicle, and get comfortable with the game’s core mechanics so you can start exploring deeper, more dangerous areas later. If you follow these tips, you won’t waste time on unnecessary tasks, and you’ll avoid the frustrating deaths that make a lot of new players quit the game before they get to experience the best parts of the story. Next time you boot up the game, try sticking to these priorities, and you’ll be shocked how much further you get in your first couple of hours.