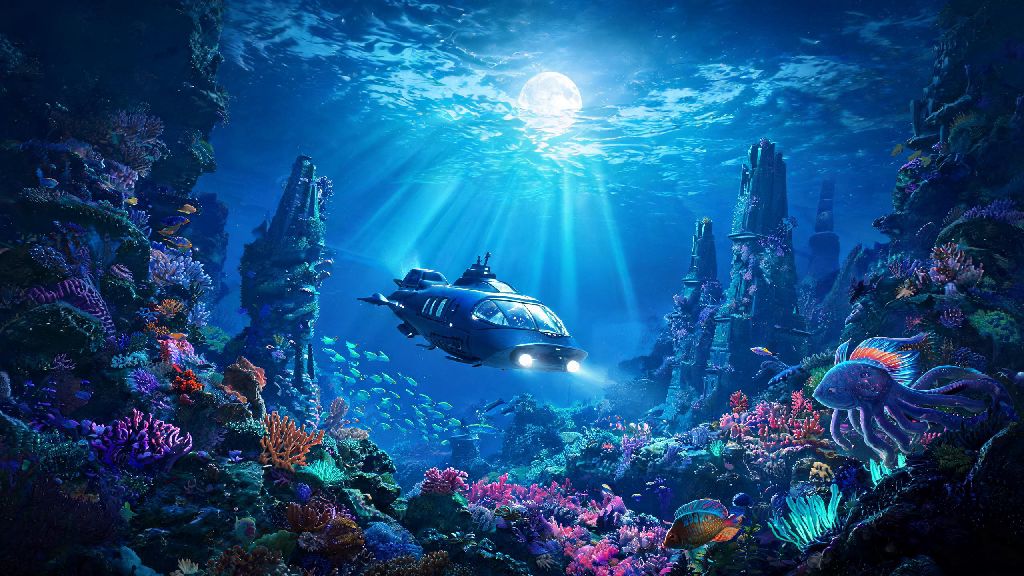
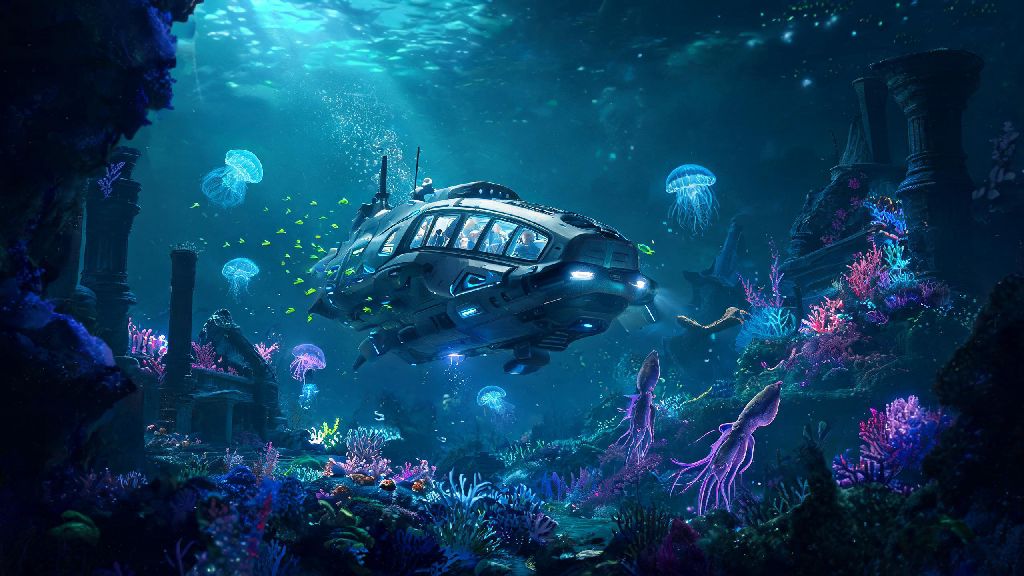
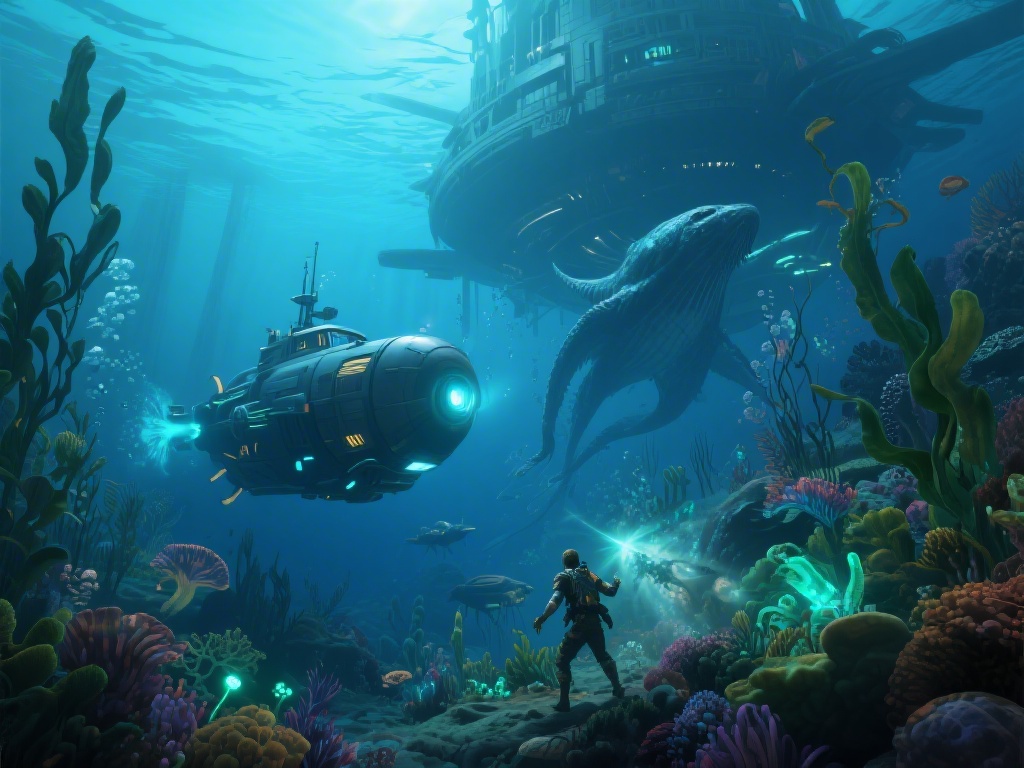
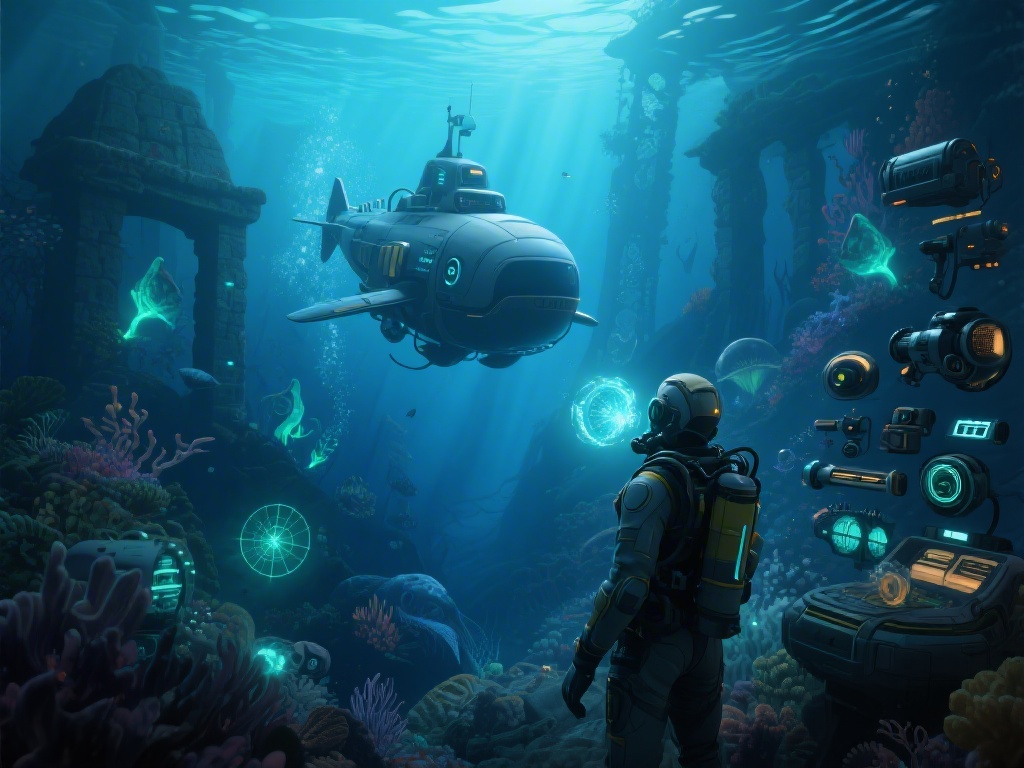
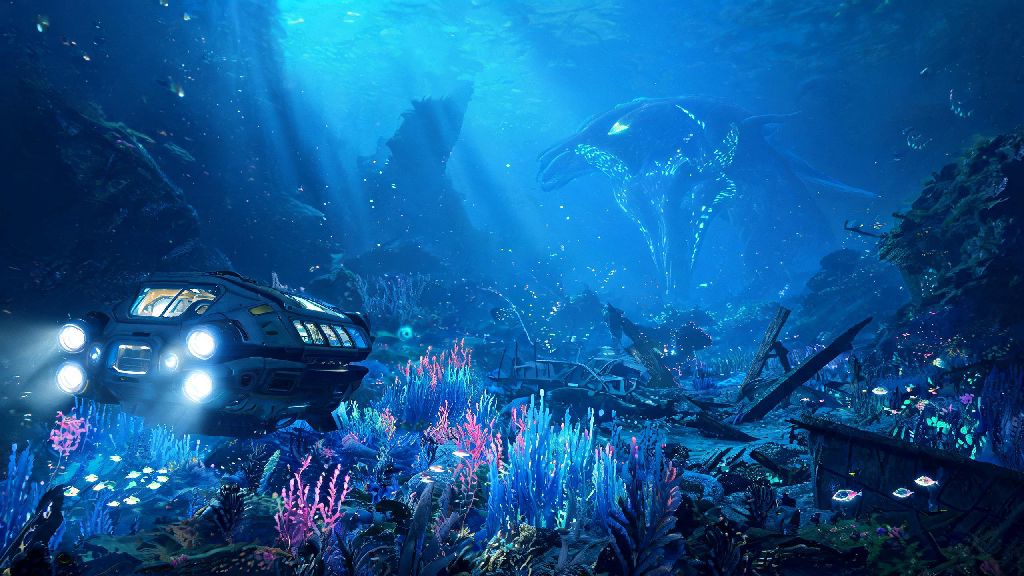
My first run-in with the Subnautica 2 Collector Leviathan still makes me cringe a little. I was 300 meters deep, half-focused on grabbing magnetite out of a hydrothermal vent, and didn’t pick up on its low, rumbling hum until it was 20 meters away. I lost my fully upgraded seamoth, a week’s worth of collected resources, and almost my entire oxygen supply escaping. If you’re tired of getting caught off guard by this massive, misunderstood deep-sea creature, this guide breaks down everything you need to stay alive, harvest its rare resource hoard, and unlock the hidden lore behind its odd behavior.
What Makes the Subnautica 2 Collector Leviathan Unique Among Deep-Sea Predators
Unlike the hyper-aggressive leviathans many players remember from the first Subnautica, the Collector Leviathan doesn’t actively hunt players or smaller fauna for food. It stretches roughly 70 meters long, with a smooth, dark blue mantle crisscrossed with glowing gold stripes, and a distinct pouch of scrap, mineral deposits, and even creature remains stuck to its underbelly. That’s where it gets its “Collector” name, after all.
It's the only leviathan in Subnautica 2 that actively hoards valuable resources, so it’s equal parts a potential threat and a rare loot pinata if you know how to approach it. It only turns hostile if you get within 20 meters of its hoard, make sudden loud movements, or attack it first. Most player deaths to this creature happen because they drift too close chasing the shiny materials visible on its underbelly, not because it sought them out.
You won’t encounter this leviathan in shallow, safe biomes either. It only lives in deep, low-light zones between 250 and 700 meters deep, so you won’t run into it until you’re well into mid-game and have upgraded your dive gear and vehicles for deep exploration. That gives you plenty of time to prepare before your first encounter.
Key Spawn Locations to Find (or Avoid) the Collector Leviathan
After 400+ hours of playtime, I’ve mapped every consistent Collector Leviathan spawn across the map, so you can either plan a visit to harvest its hoard or avoid the zones entirely if you’re not prepared. All spawns are tied to high-resource deep biomes, which is why so many players stumble on them accidentally when farming rare materials.
- Western Hydrothermal Vent field: 280m deep, near the large broken Precursor cache. This spawn is the most consistent for early mid-game players, and its hoard usually holds large amounts of magnetite, lithium, and copper ore.
- Abyssal Trench southern edge: 520m deep, tucked between two large rock formations. This individual has a hoard with a 60% higher chance of containing ion cubes and loose diamond deposits, making it worth the trip for late-game crafting.
- Underwater Volcano caldera: 680m deep, near the active lava vents. This spawn is the most aggressive, as it shares the area with multiple lava lizards that often trigger its defensive response, so only visit if you have fully upgraded combat and survival gear.
You can track its presence before you see it by listening for its low, resonant hum that travels 100m through water, so turn up your in-game audio if you’re exploring these zones. If you hear the hum, stop moving for 10 seconds to pinpoint its direction, then either adjust your path to avoid it or pull out your stasis rifle to prepare for an approach.
I always mark Collector Leviathan spawns on my map as soon as I find them, even if I’m not ready to interact with them. That way I don’t accidentally stumble into them later when I’m carrying a full load of resources and don’t have space to fight or escape.
Survival Tips for Encountering the Collector Leviathan
I’ve had more than 12 encounters with this creature, and I’ve only died twice. Once was my first run-in I mentioned earlier, and the second was when I was being stupid and tried to pry a diamond off its hoard without a charged stasis rifle. These tips will help you avoid my mistakes and turn a potentially deadly encounter into a rewarding loot run.
Always carry a fully charged stasis rifle when exploring its spawn zones. It only takes two full-charge shots to freeze the leviathan for 45 seconds, which is more than enough time to grab 2-3 high-value items from its hoard or make a quick escape. Don’t waste partial charge shots, though, they won’t stun it long enough to be useful.
Don’t use your seamoth’s perimeter defense system unless it’s already grabbed your vehicle. The electric shock will only aggravate it further, and it will deal double damage to your vehicle for the next 30 seconds. If it does grab your seamoth, hit it with a heated knife three times to make it let go, then boost away as fast as you can.
If you want to harvest its hoard without fighting, approach slowly from its back, stay at least 15 meters away until you’re directly above the hoard pouch, then drop down quickly, grab what you need, and swim up before it turns around. It has a blind spot directly behind its head, so you can get surprisingly close as long as you move slowly and don’t make noise.
Never bring fauna companions like sea monkeys or cuddlefish with you when you visit its spawn. It will see them as a threat and attack immediately, even if you’re staying far away from its hoard. I learned this the hard way when my favorite cuddlefish swam too close to it and got swatted in one hit, and I almost died trying to avenge it.
The Hidden Lore Behind the Collector Leviathan's Hoarding Behavior
For the first 100 hours I played, I thought the Collector Leviathan was just a regular predator that picked up random shiny junk by accident. Once I found the scattered Precursor data logs near its spawn points and scanned the creature fully, I realized its hoarding behavior is actually a critical part of the planet’s ecosystem.
Precursor researchers were studying this species because it has a unique biological ability to absorb and neutralize Kharaa bacteria particles from the water. It collects items that have high levels of Kharaa contamination — old Precursor equipment, infected creature remains, even contaminated mineral deposits — and stores them in its hoard pouch, where its body naturally breaks down the bacteria over time.
The golden bioluminescent stripes on its body are actually a sign of how much Kharaa it has neutralized. The brighter the stripes, the longer the leviathan has been alive, and the more contamination it’s removed from the surrounding water. That’s why you’ll often find very few infected small creatures near its spawn points, it’s already cleaned most of the bacteria out of the area.
This lore detail made me stop trying to kill every Collector Leviathan I saw. Now I usually drop off any infected tissue samples I collect from other creatures near its spawn, so it can add them to its hoard and neutralize the bacteria. It’s a small touch, but it makes the world feel a lot more alive and interconnected than most other survival game settings.
At the end of the day, the Subnautica 2 Collector Leviathan is one of the most interesting and misunderstood creatures in the entire game. It’s not just a big scary monster to run away from, it’s a key part of the planet’s ecosystem that gives you a chance to get rare resources and learn more about the world’s hidden lore if you take the time to understand its behavior. Next time you’re heading out to the deep zones, keep these tips in mind, and you’ll be able to turn a potentially deadly encounter into a rewarding trip. Just don’t get too greedy when you’re grabbing items from its hoard, okay?