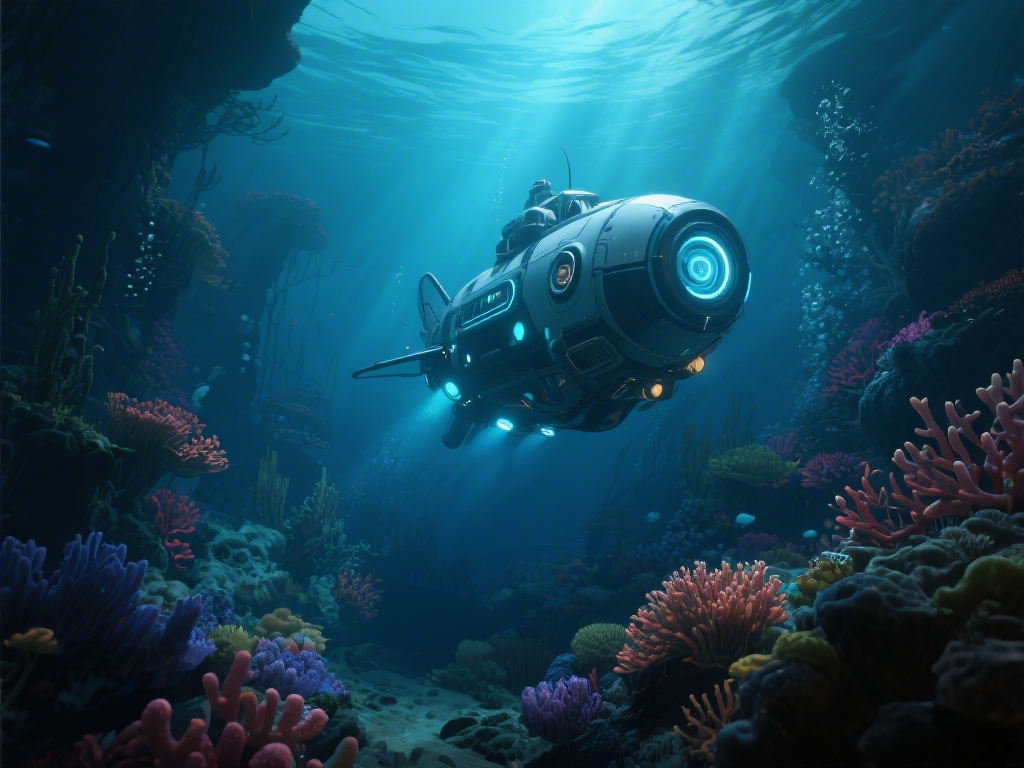
If you’ve spent hours roaming the icy depths of Subnautica Below Zero chasing rare upgrades, you’ve probably already heard you need to locate the crashed Mercury 2 wreck to get your hands on some of the game’s most useful late-game materials. I spent three full in-game days wandering the wrong biomes before I stumbled on the right path, so I put together this guide to save you the frustration of running out of oxygen or running face-first into a Shadow Leviathan when you’re not prepared. We’ll cover everything from pre-trip prep to exact coordinates, plus hidden loot you won’t want to miss along the way.
How to Find Mercury 2 in Subnautica Below Zero: Pre-Trip Prep First
You don’t want to head out for the Mercury 2 wreck half-prepared, especially since it sits in a fairly dangerous mid-depth biome with regular predator patrols. I learned this the hard way when I swam out with only a standard oxygen tank and no weapon, and ended up losing all my collected resources to a random Squidshark ambush 200 meters from my base. Take 10 minutes to grab these items before you leave, and you’ll cut your trip time in half:
- High-capacity oxygen tank: The wreck sits at a depth of 180-220 meters, so you’ll need at least 90 seconds of oxygen to explore fully without returning to your seatruck constantly.
- Seatruck with depth upgrade MK1: You can try to swim the whole way, but the trek is long, and you’ll have nowhere to hide if a predator spots you. The MK1 upgrade lets you dive safely to 200 meters without taking hull damage.
- Stasis rifle or repulsion cannon: The area around the Mercury 2 has a few roaming Squidsharks and the occasional Shadow Leviathan patrolling the edges. You don’t need to fight them, but you do need a way to slow them down if they get too close.
- Flashlight, scanner and laser cutter: Most of the wreck is flooded and dark, and you’ll want to scan all data boxes and fragments you find to unlock new blueprints. The laser cutter lets you access the locked cockpit section with the best loot.
You can pick up most of these items from the shallow Twisty Bridges wreckages near your starting spawn if you haven’t crafted them yet, so there’s no excuse to skip the prep step. I also always throw a few extra med kits and batteries in my seatruck storage, just in case I run into trouble.
Exact Coordinates and Route to the Mercury 2 Wreck
Once you’re packed, start from your standard starting drop pod to follow this simple route. Face the direction of the large iceberg with the visible al-An research outpost on top, then head southwest for roughly 800 meters. You’ll know you’re going the right way when you pass through the shallow Twisty Bridges biome first, then drop down into the deeper Purple Vents biome with glowing, tube-shaped vents covering the seafloor.
Keep an eye on your depth gauge: once you hit 170 meters, slow down and start looking for large, twisted metal pieces peeking out of the sand. The exact coordinates for the main Mercury 2 wreck are -317, -189, -762, so you can plug those into your beacon if you want to mark the spot for future trips. You don’t need a beacon if you follow the visual cues though: the wreck is half-buried next to a cluster of large purple vents that spew small glowing particles, and you’ll see broken solar panels sticking out of the sand 20 meters above the main hull.
Stay away from the darker, deeper crevices to the south of the wreck, that’s where the Shadow Leviathan patrols most often, and you don’t want to draw its attention while you’re looting. If you hear low, rumbling roars while you’re exploring, hop back in your seatruck and head up to 100 meters for a few minutes until the sound fades. Most predators won’t follow you that high up.
Key Loot You’ll Find Inside the Mercury 2 Wreck
A lot of players only go to the Mercury 2 for the parallel processing unit fragments, which you need to build the seatruck depth upgrade MK2, but there’s way more useful stuff hidden inside if you take the time to explore every room. First, head to the rear section of the wreck, where the cargo hold is. You’ll find three intact crates with titanium ingots, wiring kits, and a free battery charger blueprint that saves you from having to scan fragments elsewhere.
The mid-section of the wreck has the crew quarters, where you can find personal logs that fill in more of the game’s backstory about what happened to the Mercury 2 crew before the crash. I always take time to read these, because they add a lot of context to the planet’s story that you won’t get from the main quest line alone. There are also a few scattered storage lockers with extra food, water and flares that you can grab if you’re running low on supplies.
The front cockpit section is the hardest to reach, because it’s blocked by a collapsed bulkhead that you’ll need to cut through with a laser cutter. If you have one with you, you’ll find the advanced navigation blueprint inside, which lets you add custom waypoint markers to your map for any location you want. I also found a free heat blade in a storage locker near the cockpit on my last playthrough, which saved me 400 titanium and crystal sulfur that I would’ve spent crafting one myself. You don’t have to explore the entire wreck in one trip, though. You can always mark the spot with a beacon and come back later when you have more inventory space or better gear.
Common Mistakes to Avoid When Searching for Mercury 2
I made almost every possible mistake on my first few attempts to find the wreck, so I can tell you exactly what not to do. First, don’t try to go too early in the game. If you don’t have the seatruck depth upgrade, you’ll take constant hull damage when you dive down to the wreck’s location, and you’ll end up stranded if your vehicle breaks. I’d recommend waiting until you have at least the standard seatruck and MK1 depth upgrade before you make the trip, which usually happens 3-4 hours into a standard playthrough.
Second, don’t ignore the warning signs of nearby predators. If you hear low, rumbling roars or see large shadowy shapes moving in the distance, turn around and head back to shallower water for a few minutes. You don’t get any bonus points for fighting a Shadow Leviathan when you’re just trying to loot a wreck, so it’s always better to play it safe. I once tried to outrun one and crashed my seatruck into a rock wall, which cost me all the loot I’d spent 20 minutes collecting.
Third, don’t forget to bring extra batteries for your flashlight and scanner. The wreck is almost completely dark, and if your flashlight dies halfway through, you’ll struggle to find your way out, let alone pick up all the loot you came for. I always keep three extra batteries in my seatruck storage now, just in case. One more small tip: if you’re having trouble spotting the wreck from a distance, turn on your seatruck’s headlights and look for the glint of metal against the purple vent-covered seafloor. It’s a lot easier to spot than you think once you know what you’re looking for.
Once you know the right route and prep properly, learning how to find Mercury 2 in Subnautica Below Zero takes far less time than you probably expect, and the loot you get makes the entire trip worth it. Don’t rush the process, take time to pack the right gear, and you’ll walk away with enough rare materials and blueprints to make the rest of your playthrough far easier. I still stop by the wreck every few playthroughs to stock up on wiring kits and fill in any missing story logs I missed on my first run, and it’s still one of my favorite exploration spots in the entire game.